PATCH CORD ASSEMBLY GUIDE | |||
| All CMS products use high quality Switchcraft input and output jacks. Other industry names for these jacks are “Tini-Jax” or .141” miniature phone jacks. The jacks are the exact same high quality, American made jacks that were used in the original ARP 2600, ARP 1601 Sequencer and ARP 2500. Buchla equipment also uses Tini Jax. These jacks and plugs are far superior than standard euro rack plugs and jacks and will last a lifetime. As it was with the original ARP 2500, the use of cables with Switchcraft Tini Plugs is highly recommended. Standard Euro Rack 3.5mm patch cords will work fine in most cases, however a much better electrical connection is established when you mate simlar types together. Tini Plugs and Tini Jax mated together form a superior electrical connection. Factory made molded Switchcraft cables are very expensive and are hard to find because they require large quantities to place an order. A better and more cost effective solution is to make your own, or to have your tech make them. If you can solder, you can make them up yourself 1. If your system is all CMS, ARP and Buchla, you may want to make up, or have your tech make up some Tini Plug cables. 2. If you have a mixed Euro Rack system, you may want to consider making a few Tini Plug cables and a few color coded adapter cables. Making them up yourself is easy and is very
similar to soldering a 1/4" patch cable. If you are operating
a recording studio, it is probably a good idea to learn how to do
this. |
||
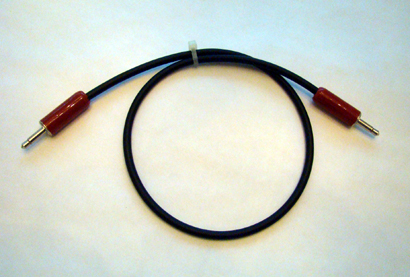
TINI
PLUG TO TINI PLUG CABLES |
||||
 |
||||
| ORDERING PARTS Plugs: Switchcraft .141" Tini-Plugs
Cable: Mogami low noise microphone cable #W2314 or #W2368.
|
||||
TOOLS NEEDED
Panavise - or any electronic vise with padding Soldering Iron Solder - SN60 - you can use silver solder, but the temp will be hotter and you may melt the insulation. Razor Blade Needle Nose Pliers - small Wire Cutter - small Wire Stripper - capable of stripping 24-26 gauge |
||
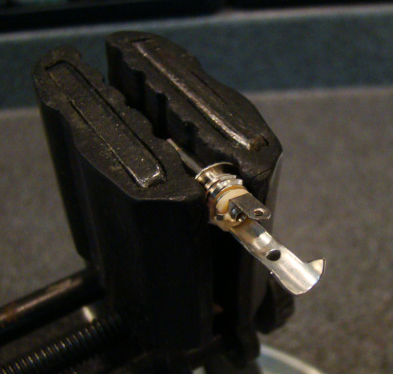
TINI PLUG CABLE ASSEMBLY PROCEDURE 1. Place the Tini Plug in the vise.
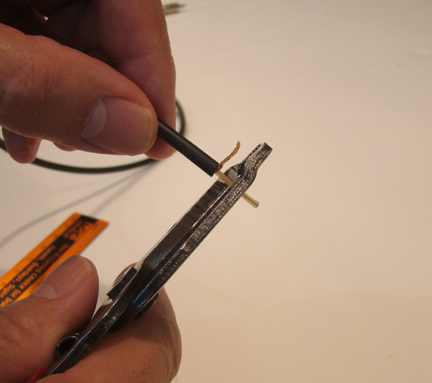
2. Cut the cable using the wire cutters to the desired length. 3. Strip the outer covering 1/2 " from the cut end of the cable using the razor blade. Make sure not to cut into the shielding. Twist all the strands of the shielding together in a tight spiral pattern.
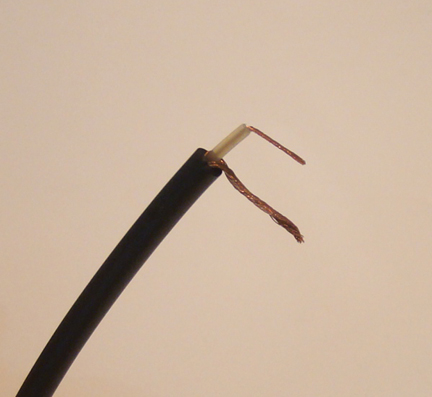
4. Strip the inner insulator 5/16" from the cut end of the cable using a wire stripper. Twist the strands of the center conductor together in a spiral pattern.
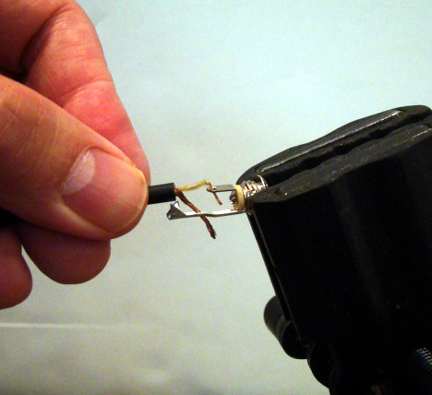
5. Bend both the exposed shield wire and the exposed insulator wire in a 90 degree angle and in the same direction with respect to the cable. Space the distance between both wires to match the distance between the 2 holes on the plug.
6. Insert the shield wire and the center conductor wire into the 2 respective holes in the plug at the same time.
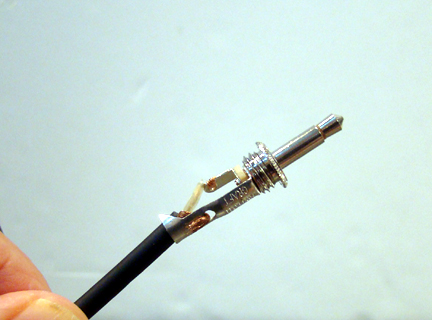
7. Bend the shield wire back against the outer side of the plug and clip it with the wire cutter. Leave some length so you can solder. 8. Wrap the center conductor wire around the center terminal of the plug. Using the needle nose pliers, tighten the wrapped wire around the terminal.
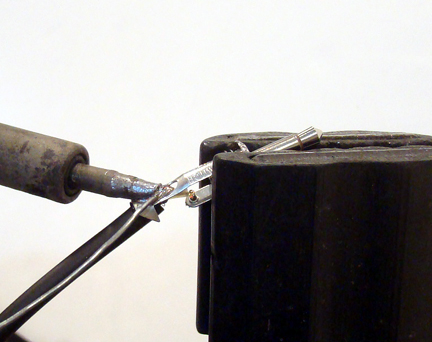
9. Solder both connections. Solder the shield wire to the outer side of the plug. Do not use excessive heat. Do not heat up the connections for long periods of time.
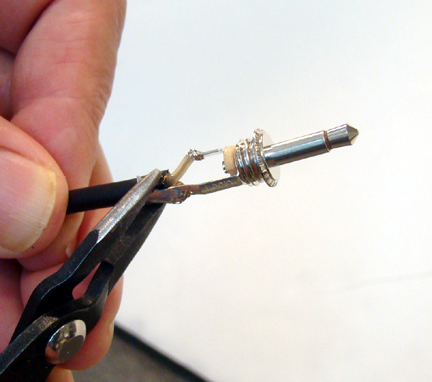
10. Tighten the strain relief clamp onto the cable.
11. Important! place both outer handles (covers) onto the cable with the openings facing in the correct directions before soldering the other jack! 12. Solder the other jack to the opposite end of the cable using the same procedure.
|
||

TINI
PLUG TO 3.5MM ADAPTER CABLES |
||||
 |
||||
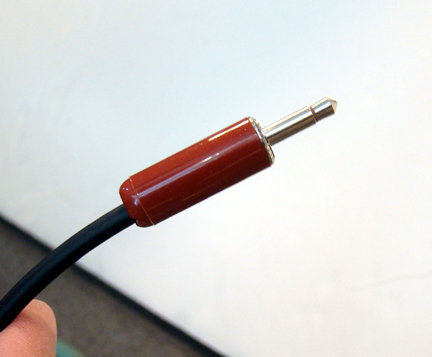
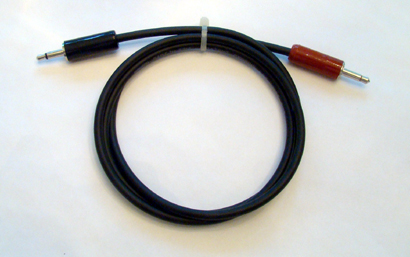
You may also want to make a few color coded adapter cables if you have a mixed system. RED COLOR CODED HANDLES CLEARLY DESIGNATE THE .141" TINI PLUG, BLACK COLOR CODED HANDLES ARE EURORACK 3.5MM PLUGS
Here are some part suggestions for the 3.5mm (black) end: Amphenol part # KM2PB Kobiconn part # 171-105AC-EX Kobiconn part # 171-3500-E
To differentiate between the ends you should use a red handle for the .141 Tini Plug end: Switchcraft part # 755 - Red plastic handle - This is the best choice for adapter cables |
||||
| e-mail: filter@discretesynthesizers.com Phone: 912-727-2195 |
||||||
| ©2025 Phil Cirocco | ||||||